Options for Making Instructional Videos
Zoom Recording
YuJa Recording
Green Screen
Learning Glass
📽️ Zoom Recording
Zoom is a cloud-based video conferencing tool for instructors to deliver a synchronous virtual class or self-record an instructional video. Its “screen-sharing” function allows you to record a talking head video while presenting what is showing on your computer screen, such as presentation slides, images, webpages, etc.
In addition, Zoom offers two options to record and store your video recordings. You can edit the video (.mp4 file) using video editing tools such as iMovies or Adobe Premiere Rush.
- Record to the Cloud: The cloud recording option offers a weblink for you to share the video recording with your students. It can also be integrated within your Canvas space. Please note that the Zoom recording link may expire after a certain period of time. You should download and archive the videos before the expiration date.
- Record on the Computer: If you prefer to store the zoom recording videos on your local computer, you can find them in the Zoom folder, usually inside the Documents folder on your computer. Each set of recording files is stored in a folder labeled with the recording date and time.
Finally, you can upload your videos (.mp4 file) to any of the video platforms, such as YouTube and YuJa, and generate a permanent video link or embed code.
📽️ YuJa Recording
YuJa, an enterprise video platform, provides a one-stop shop experience for developing self-recorded instructional videos. You can upload an existing video file or record a video directly on Yuja. An instructor can easily integrate Yuja videos into Canvas and provide a seamless video-inside-LMS experience for your students.
YuJa’s automated machine captioning feature ensures your instructional video is accessible. However, we highly recommend that the faculty review and revise the script to enhance the accuracy and quality of the captioning. You can also insert a reflective question or pause in between a YuJa video to enhance student learning experience. The reflective question response can be sent to the Canvas grade book as part of the class participation grade.
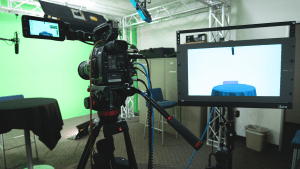
📽️ Green Screen Filming
Green screen filming applies the technique of chroma keying to remove the background (green) color from a video. This approach allows the video editor to insert additional objects (e.g., background images, icons, photos, and text) that align with the presenter’s speech during the post-production process. The weatherman explaining the weather is a great example of the use of a green screen. The weather map behind the weatherman is inserted behind the presenter, which allows the weatherman to describe the weather conditions with a clear visual illustration.
A green screen studio is available at the Division of Teaching Excellence and Innovation (DTEI). Located in the Anteater Instructional and Research building (AIRB), the green screen studio provides UCI faculty with more options and flexibility in creating instructional videos to motivate students’ learning interests.
When filming a video in a Green Screen Studio, keep in mind:
- Keep it short! – Online attention spans are much different than in the classroom. Try to “chunk” up your lecture into several smaller videos, each approximately 7-12 minutes in length.
- It’s okay to mess up! – You don’t have to be a one-take-wonder or do your entire lecture flawlessly—that’s what the editing team is for! If you flub or misspeak, just stop, take a breath, and restart from the beginning of that sentence or thought.
- Avoid wearing green or complicated patterns. – Green on clothes will be removed in post production along with the background, and intricate patterns can create an undesirable moire effect in the camera. Bold patterns are fine, and solid colors are best.
UCI Media provides professional video production services at a rate of $85 per hour. If you would like to learn more about studio filming or post-production services, please contact ucimedia@uci.edu
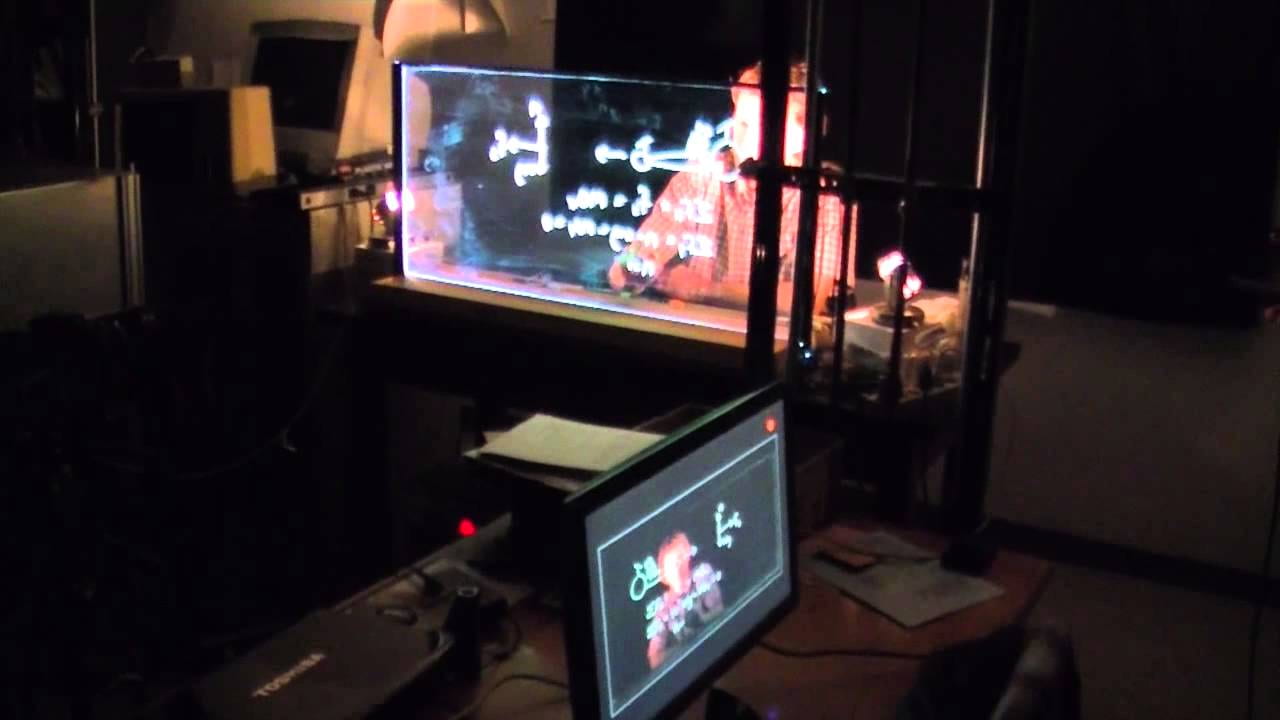
📽️ Learning Glass
Invented by Matt Anderson, a physics professor at San Diego State University, the learning glass equipment allows instructors to record a problem-solving demo or writing/drawing video while facing the viewers (students). It allows the writing action of a presenter to be captured in the instructional video, and the videographer can edit the video by adding additional video footage during the post-production process. Read our DTEI newsletter story to learn about how Dr. QV Dang from the Department of Electrical Engineering and Computer Science uses the Learning Glass to teach his computer programming course.
When filming with Learning Glass, keep in mind:
- Stick to one topic.
- Plan out your video ahead of time, so you know where to stand as you are drawing on the light board.
- Wear dark, solid-colored clothes, but avoid black.
- Don’t wear clothes that have text or logos. These will appear reversed in the video.
- Small mistakes that can be quickly erased are okay.